

Applying for development in the City of Markham can be done online through the ePLAN platform, where you can send your plans, drawings, studies, and reports to the city staff. This is done to increase effectiveness, efficiency, and safety during the entire process of the application. ePLAN is available to all applicants and types of development which includes residential, developer and builders, business owners, and park consultants.
In order to make the application for your development easier, we’ve listed the steps you need to take in order to get your development project going and explain how and when Simple Sign can help facilitate this process for you.
How to Apply for a Development Permit in Markham
Step 1: Begin application process with ePLAN
Log onto the Online Portal (City Website) and use the Markham ePLAN online portal option. Create an account online with ePLAN, and follow the instructions to apply, pay fees, upload documents, plans, and renderings, and track the status of your application.
Step 2: Attend a Pre-Application Consultation
After creating an online ePLAN account to submit a pre-consultation request. Once the account is created, log in and follow the ePlans steps to submitting your pre-application meeting requests, which includes uploading your drawings and documents. This will include building footprint and dimensions, building setbacks from all lot lines, site statistics, landscaped areas/buffers and dimensions, and site access, driveway location, parking areas and dimensions.
The pre-consultation process enables applicants to present the proposed development to City staff and allows for clarification of the application process. Additionally, any issues or comments will be provided by City staff in order to make the application process easier. Any additional documentation or plans will be identified by City staff.
Step 3: Submit your Application
Once you’ve completed assembling your documents, submit your application on ePLAN. City staff will review the attached documents like your drawings and documents, and provide additional information on what is required or give feedback on what changes should be made.
Step 4: Install Signage
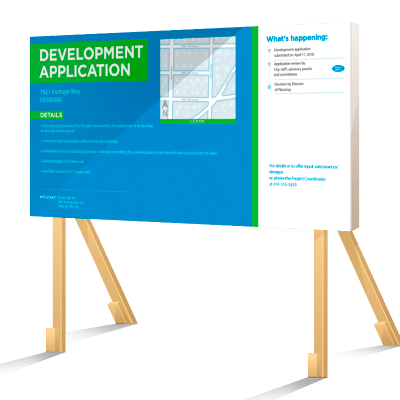
At this point, the City will request for the applicant to install one or more development application signs on their property that notifies other landowners and community members of your plans, and that an application has been submitted.
The City will inform the applicant an outline of how many signs are required and also the exact text which should be included on the development application sign(s). This process often means dealing with the hassles approval, dealing with sign shops and the annoyance of building frames to display your signs properly.
The team at Simple Sign can use this letter from the city planner to create the graphic design for the sign and install the development sign quickly and at a competitive price point.
Simple Sign is also able to proof any development sign information to ensure it meets requirements and submit sign information directly to the City for approval.
We guarantee the installation of development signs within 3 business days, removing the burden of handling signage design and installation from your busy schedule.
Step 5: Review and Changes Needed to Application
Once your application has been reviewed by the staff at the City of Markham, they will contact you and provide a link with all the information regarding the review and the mark-up of your plans. You may then update your plans based off of the comments provided to you and resubmit for another review. You can continue this process until your plans are approved.
Step 6: Issuance of Development Permit
After all of the requirements for your project have been met if you had a conditional approval, a development permit will be granted for your project.